WHAT TO Know for DIY Outdoor Lighting
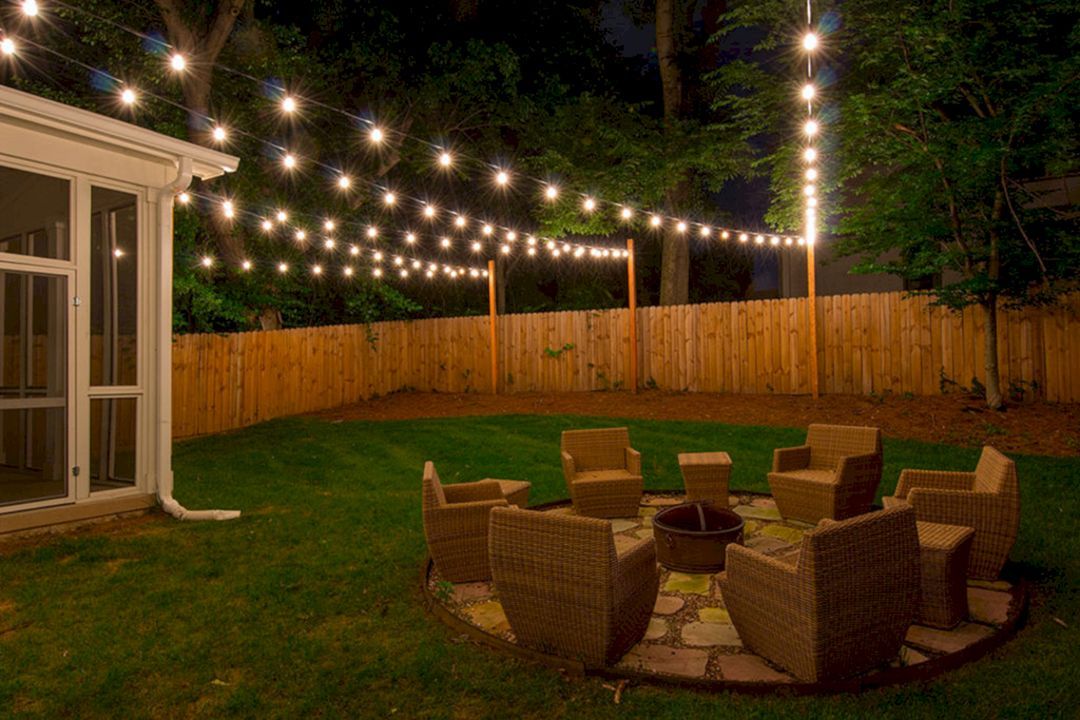
Outside illumination is a vital feature of any type of residence yard. It not just includes visual value yet additionally provides safety as well as safety to your residential property. DIY outdoor lights is a fantastic way to boost the atmosphere of your outdoor space as well as make it secure. Whether you wish to highlight a specific function or create a general atmosphere, there are several things you require to understand prior to starting your DIY outside lighting task.
1. Plan Your Lighting
Prior to you start any type of DIY outside illumination job, put in the time to plan out what you wish to attain. Remember of the areas you want to brighten, the type of lighting you will certainly need (path markers, wall-mounted, or expenses), as well as the overall ambiance you wish to produce.
2. Select the Right Lighting Fixtures
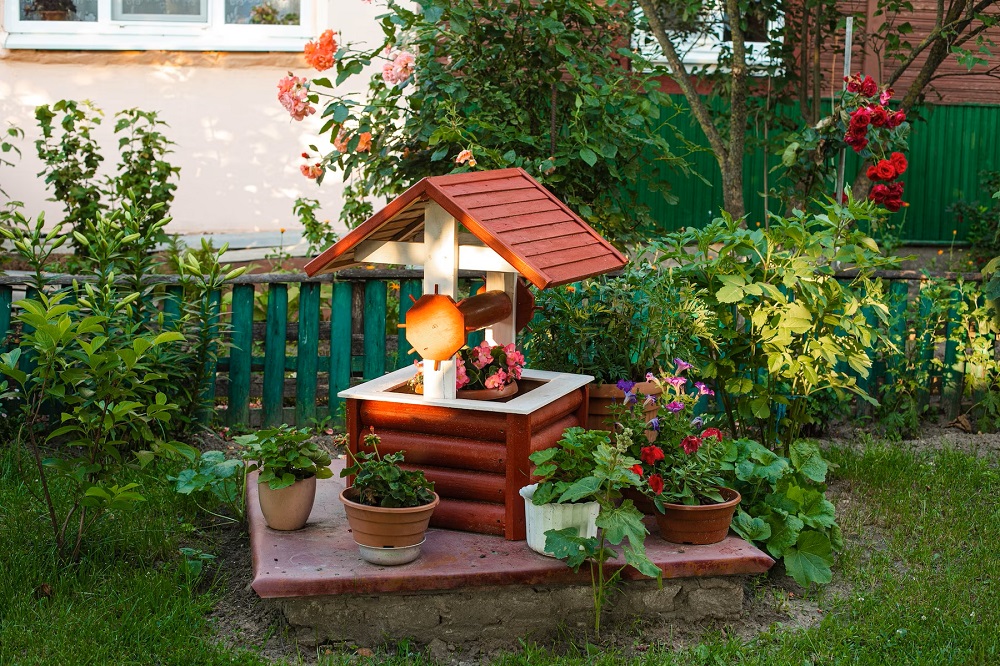
The appropriate lights fixtures can make all the distinction in creating the ideal atmosphere in your garden. Select ones that enhance the theme of your garden and also fit the total style of your house. Wall surface sconces, path markers, and also flood lamps can all be part of your DIY outside illumination layout.
3. Consider Energy Efficiency
Among one of the most forgotten aspects of exterior illumination is power performance. It’s necessary to select illumination components that are LED powered because they make use of much less power than standard illumination fixtures. This selection will additionally decrease your monthly energy expenses, making it a win-win situation.
4. Choose Solar-Powered Lighting
Solar-powered lights is one more option that is environment-friendly and also economical. It’s excellent for remote locations that are not within reach of an electrical outlet. You can conveniently install solar-powered lights fixtures as they need no electrical wiring and work using the sunlight’s energy.
5. Illumination Placement
Correct placement of illumination fixtures is essential to producing the desired atmosphere and also highlighting attributes of your garden. The positioning needs to think about the area that requires to be brightened, the height of the component, and how much light is needed to develop the perfect result.
6. Usage Timers
Adding a timer to your DIY outside lighting will certainly assist in saving power and extend the life-span of your lighting components. Timers will certainly guarantee the lights switch on and off instantly, permitting you to save power.
7. Set Up Ground Fault Circuit Interrupter (GFCI) Outlets
Given that you’ll be dealing with power, it’s vital to set up GFCI electrical outlets to lessen the danger of electrical shock. GFCI outlets are essential in wet areas such as gardens, where water positions a significant danger.
8. Usage Quality Electrical Supplies
When picking electrical supplies for your DIY outdoor illumination task, go with high quality ones from reliable vendors. The top quality of the hardware will certainly influence the lifespan of the lighting fixtures, and also you do not want to handle relentless faults after simply installing them.
9. Examine Local Regulations
It’s constantly important to inspect neighborhood regulations concerning outside lighting as well as electrical setups, especially if you’re mounting electrical wiring underground. Some neighborhood regulations may call for that a qualified electrician conduct the installment.
10. Security First
When mounting your DIY outdoor lighting, security must constantly come first. Turn off all power sources prior to beginning the installation process, and also constantly manage electrical wiring with caution.
Finally, DIY outdoor illumination has numerous benefits, however correct preparation is important to attain the visual appearance as well as capability you want. By complying with these tips, you can develop the setting you desire and also enhance your outdoor area’s elegance and safety.